As you have probably noticed we had a fantastic time down in Moab visiting both Arches and Canyonlands National Parks. The area is absolutely amazing and full of beautiful places and natural wonders. There is so much to do though that it can be a little overwhelming, so for both parks I used the respective Chimani apps to help plan and carry out our adventures. I used the apps on a iPhone running iOS 9, but they are also available for Android.
These apps function very similarly to the Chimani Grand Canyon app that I
reviewed a while ago, but it was my first time using the new interface that they updated too. And I have to say that it worked ok, but not as well as I was hoping. The new interface looks nice, but finding what I wanted wasn't always simple, more on that in a minute.
The Arches app and Canyonlands app are almost identical in form and function, only the specific information is different, so I will treat them as one thing for the sake of this review.
App Organization
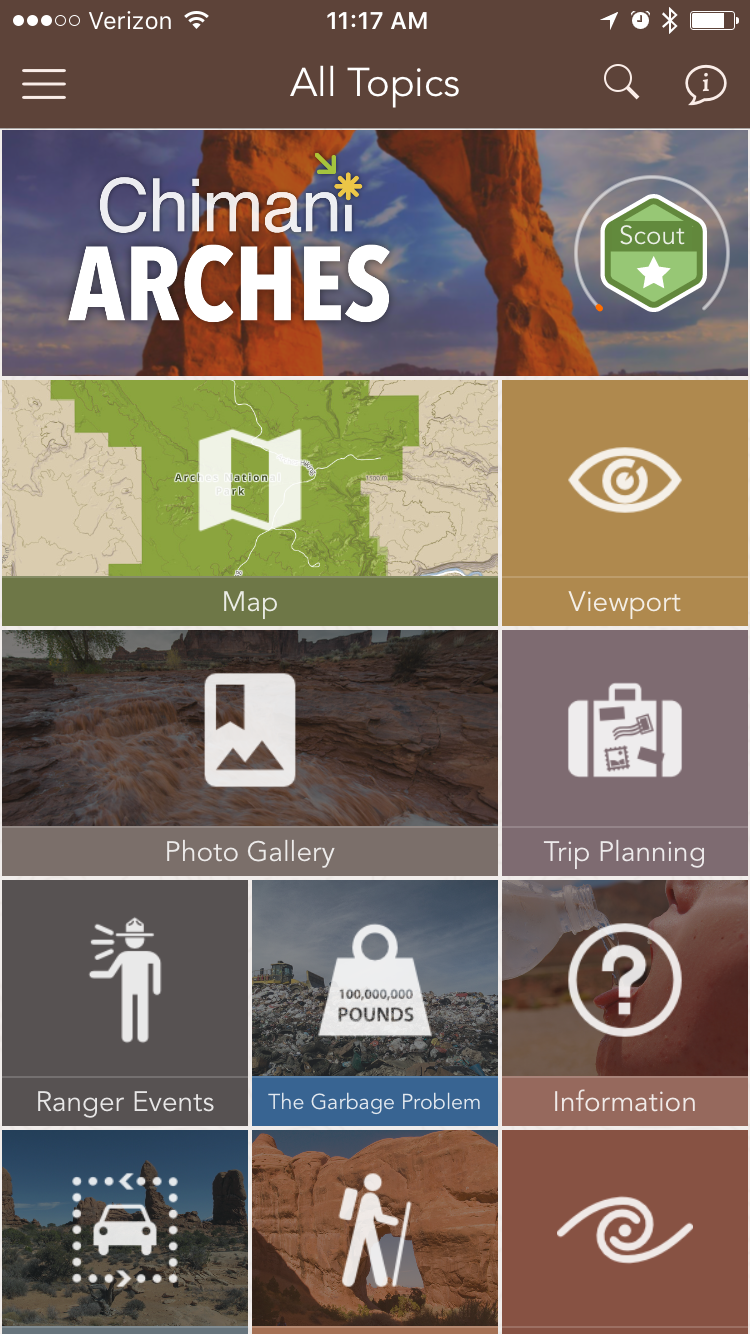
When you open the app you will be presented with a menu screen like the one shown below.
There are a bunch of different categories to help you out so it is suppose to be easy to find what you want to do. Unfortunately I was not always sure where different activities would show up, for example the line between auto touring and hiking is very blurred with some of the same locations showing up in both places. That confused me for a bit, but I guess it makes sense if it is an attraction that can both be hiked to and seen from a pullout or parking lot. If you are not sure what category a particular attraction or activity might be found under chances are that it is under multiple.You can also use the search feature if you want to find something specific.
The menu grid is easy to navigate, although all the topics can also be found in list form under the side menu. One thing I wish though is that you could arrange the sections in the order that you most use them. For example the tab trip planning was not something I used, so if I could have replaced it with the hiking tab that would have been more useful to have at the top of the screen.
Planning Your Trip
These apps are very useful in planning your trip to the parks because they will tell you how difficult the hikes are and about how long to expect on each. There is a section of the app called "Trip Planning" but I did not find this to be useful at all. It doesn't really help you to figure out what you want, so I would avoid it.
The best thing to do is just go look at the sections of things you like to do, in the case of these apps mostly hiking. When you find an activity that you want to do on your trip, or might want to do, just bookmark it by tapping the bookmark in the upper right hand corner of the details screen.
Now I'll do you a favor and tell you where to find those bookmarks later, since it is not apparent from the app itself, in fact I did not figure it out until after we had already come home from Moab. From the Home screen tap the banner at the very top, the one that says the name of the park and shows your rank (normally scout). This will take you the "My Chimani" section of the app where one of the sections is "bookmarks." This will make your trip much easier. Simply bookmark the activities that you want to do and then you will be able to easily find them while you are in the parks. This will prove useful when using the maps as well.

Maps in the App
When using the app on are trip I thought the map portion of the app was virtually useless because it looked like this just a couple big orange circles and numbers.
You have to zoom in for individual places to appear and when you do you are so close that you can't see it in relation to anything else.
For this reason I relied mostly on the park guide that the rangers give you when you come in for navigating.
Since the trip though I have figured out how to make the map portion much more usable, which is good since some National Parks are no longer handing out the park guides to save paper. In the settings section of the app (at the very bottom of the side menu) turn off cluster map pins.
Although this still is not perfect (it would be nice if you could set some filters) it is much more usable. If you have bookmarked any spot it will appear as a tan pin making those easier to find. I hope to see more improvements to Chimani's maps in the future.
Also remember that you can download the maps to the app before you head out so that if you run into dead zones (you will) the map will still be available to you.
Badges and Account
As mentioned above there is a section of the app hidden in the title banner (also appearing on the side menu) called my Chimani. This is the area that stores your bookmarks and also your badges. Because I couldn't find this portion during our trip I never used it. So I don't know a lot about the badges, but it appears that if you hit the plus icon on an activity or place in the app then you will get the badge for that thing. I tried it on a bunch of the things we did down in Arches, but never got close to leveling up my rank, so I think the "verified" visits must be worth more, but I haven't tried since I am not on location currently. The badges are a nice way of keeping track of what you have done though.
Sum Up
The Chimani apps are really useful, despite a few drawbacks they will help make your trip to Arches and/or Canyonlands a lot better. You can't complain too much about something that is free. If you use my tips in this post it should work out even better than it did for us on our trip. Remember that Chimani has apps for most of the National Parks, but they all have different features depending on what the park has available (such as shuttle bus schedules in the Grand Canyon).
Labels: App, Arches, Canyonlands, Hiking, Outdoors, Review, Travel Tech, Utah